Photo by Christin Hume on Unsplash
How to install Elastic search 8.9 on Windows 10 as a standalone service?
Install elastic search as windows service for your Optimizely/EPiServer/Insite B2B Commerce project
Table of contents
You can go to this article Install Elasticsearch with .zip on Windows | Elasticsearch Guide [8.9] | Elastic and follow the instructions which will help you install elastic search as a service, but there is a lot of additional stuff which is not needed for your purpose of B2B commerce related work.
So, here are clean steps to follow to get your localhost:9200 port up and running for Optimizely B2B commerce's search index configuration.
Initial Installation
Download the latest zip from here - Download Elasticsearch | Elastic, at the time of writing this article I used Elastic search 8.9 https://artifacts.elastic.co/downloads/elasticsearch/elasticsearch-8.9.0-windows-x86_64.zip
Go to your downloads folder, unzip the package and extract it into a folder.

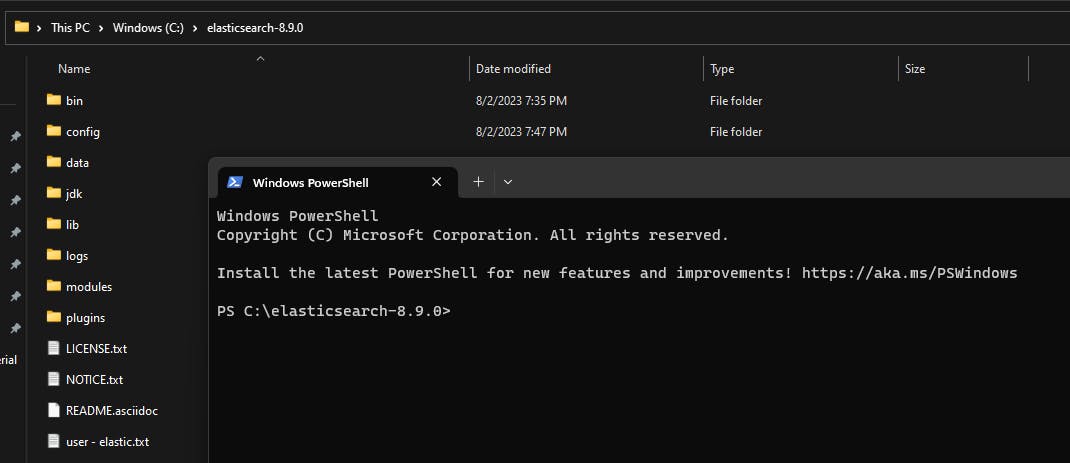
Copy the "elasticsearch-8.9.0" folder and paste it into your C:/ drive
Open Windows Terminal OR Command Line and navigate to your elastic folder

Run command
.\bin\elasticsearch.bat. It will take some time to run.Please note - You don't need JVM or JDK installation before doing this, it all comes with this zip file, so don't need to worry about it. This was an issue with past elastic installations.
Once your command runs fine without any errors, you will get 3 one-time generated pieces of information.
password for your "elastic" username. Store this in a safe place. This is needed for the first-time login.
Enrollment token for Kibana - not needed for our installation
Hex-encoded SHA-256 fingerprint - not needed for our installation
Now if you hit URL localhost:9200 it will ask you for your username and password

This is where you will enter the username as "elastic" and the password generated in your terminal window
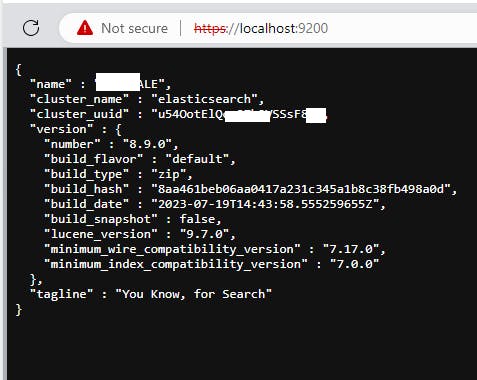
If you enter your username and password correctly, you should see the below screen as an acknowledgment that the elastic service is running with cluster information.

You can terminate your elastic session by pressing CTRL + C twice
Next steps are to configure elastic service in background.
Standalone Installation of Service
Keep in the same terminal session and use the command
elasticsearch-service.bat installNow start the service using the command
elasticsearch-service.bat startPlease note - Elastic search now uses Daemon to host the service on your machine and doesn't use Window Services which was the case before. So you will not find an Elastic search service running in Services.msc
Starting service will still be temporary until your terminal session remains open, you can permanently keep it running using the command
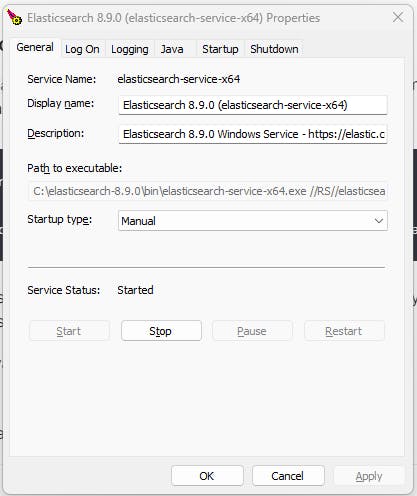
elasticsearch-service.bat managerStart it and configure its startup type. I kept it to Manual.

Now critical step left here is to configure your environment variable for JDK. This is necessary for the service to look for the JDK folder to keep it running in the background. This will be set to the JDK path of your elastic folder.

- Once this is done, now you can close all terminal windows and your localhost:9200 port will be open to respond to elastic service calls from Optimizely.
